Hello! Welcome to the Creation Station Blog Hop! We are a team of Stampin' Up! Demonstrators from around the world who create a hop for you every first Sunday of the month. This month our theme is "Case the Catalog". Each team member will pick a project from the catalog and CASE (copy and share everything) it--copying the layout, colors, technique or the entire card, and adding his or her own touches as he or she creates. Be sure to click on the "Next" button at the end of each hop post, so you can hop around and see all the projects and ideas we have for you today. We hope you'll be inspired to use what you have in your own stash to recreate a favorite card from the catalog.

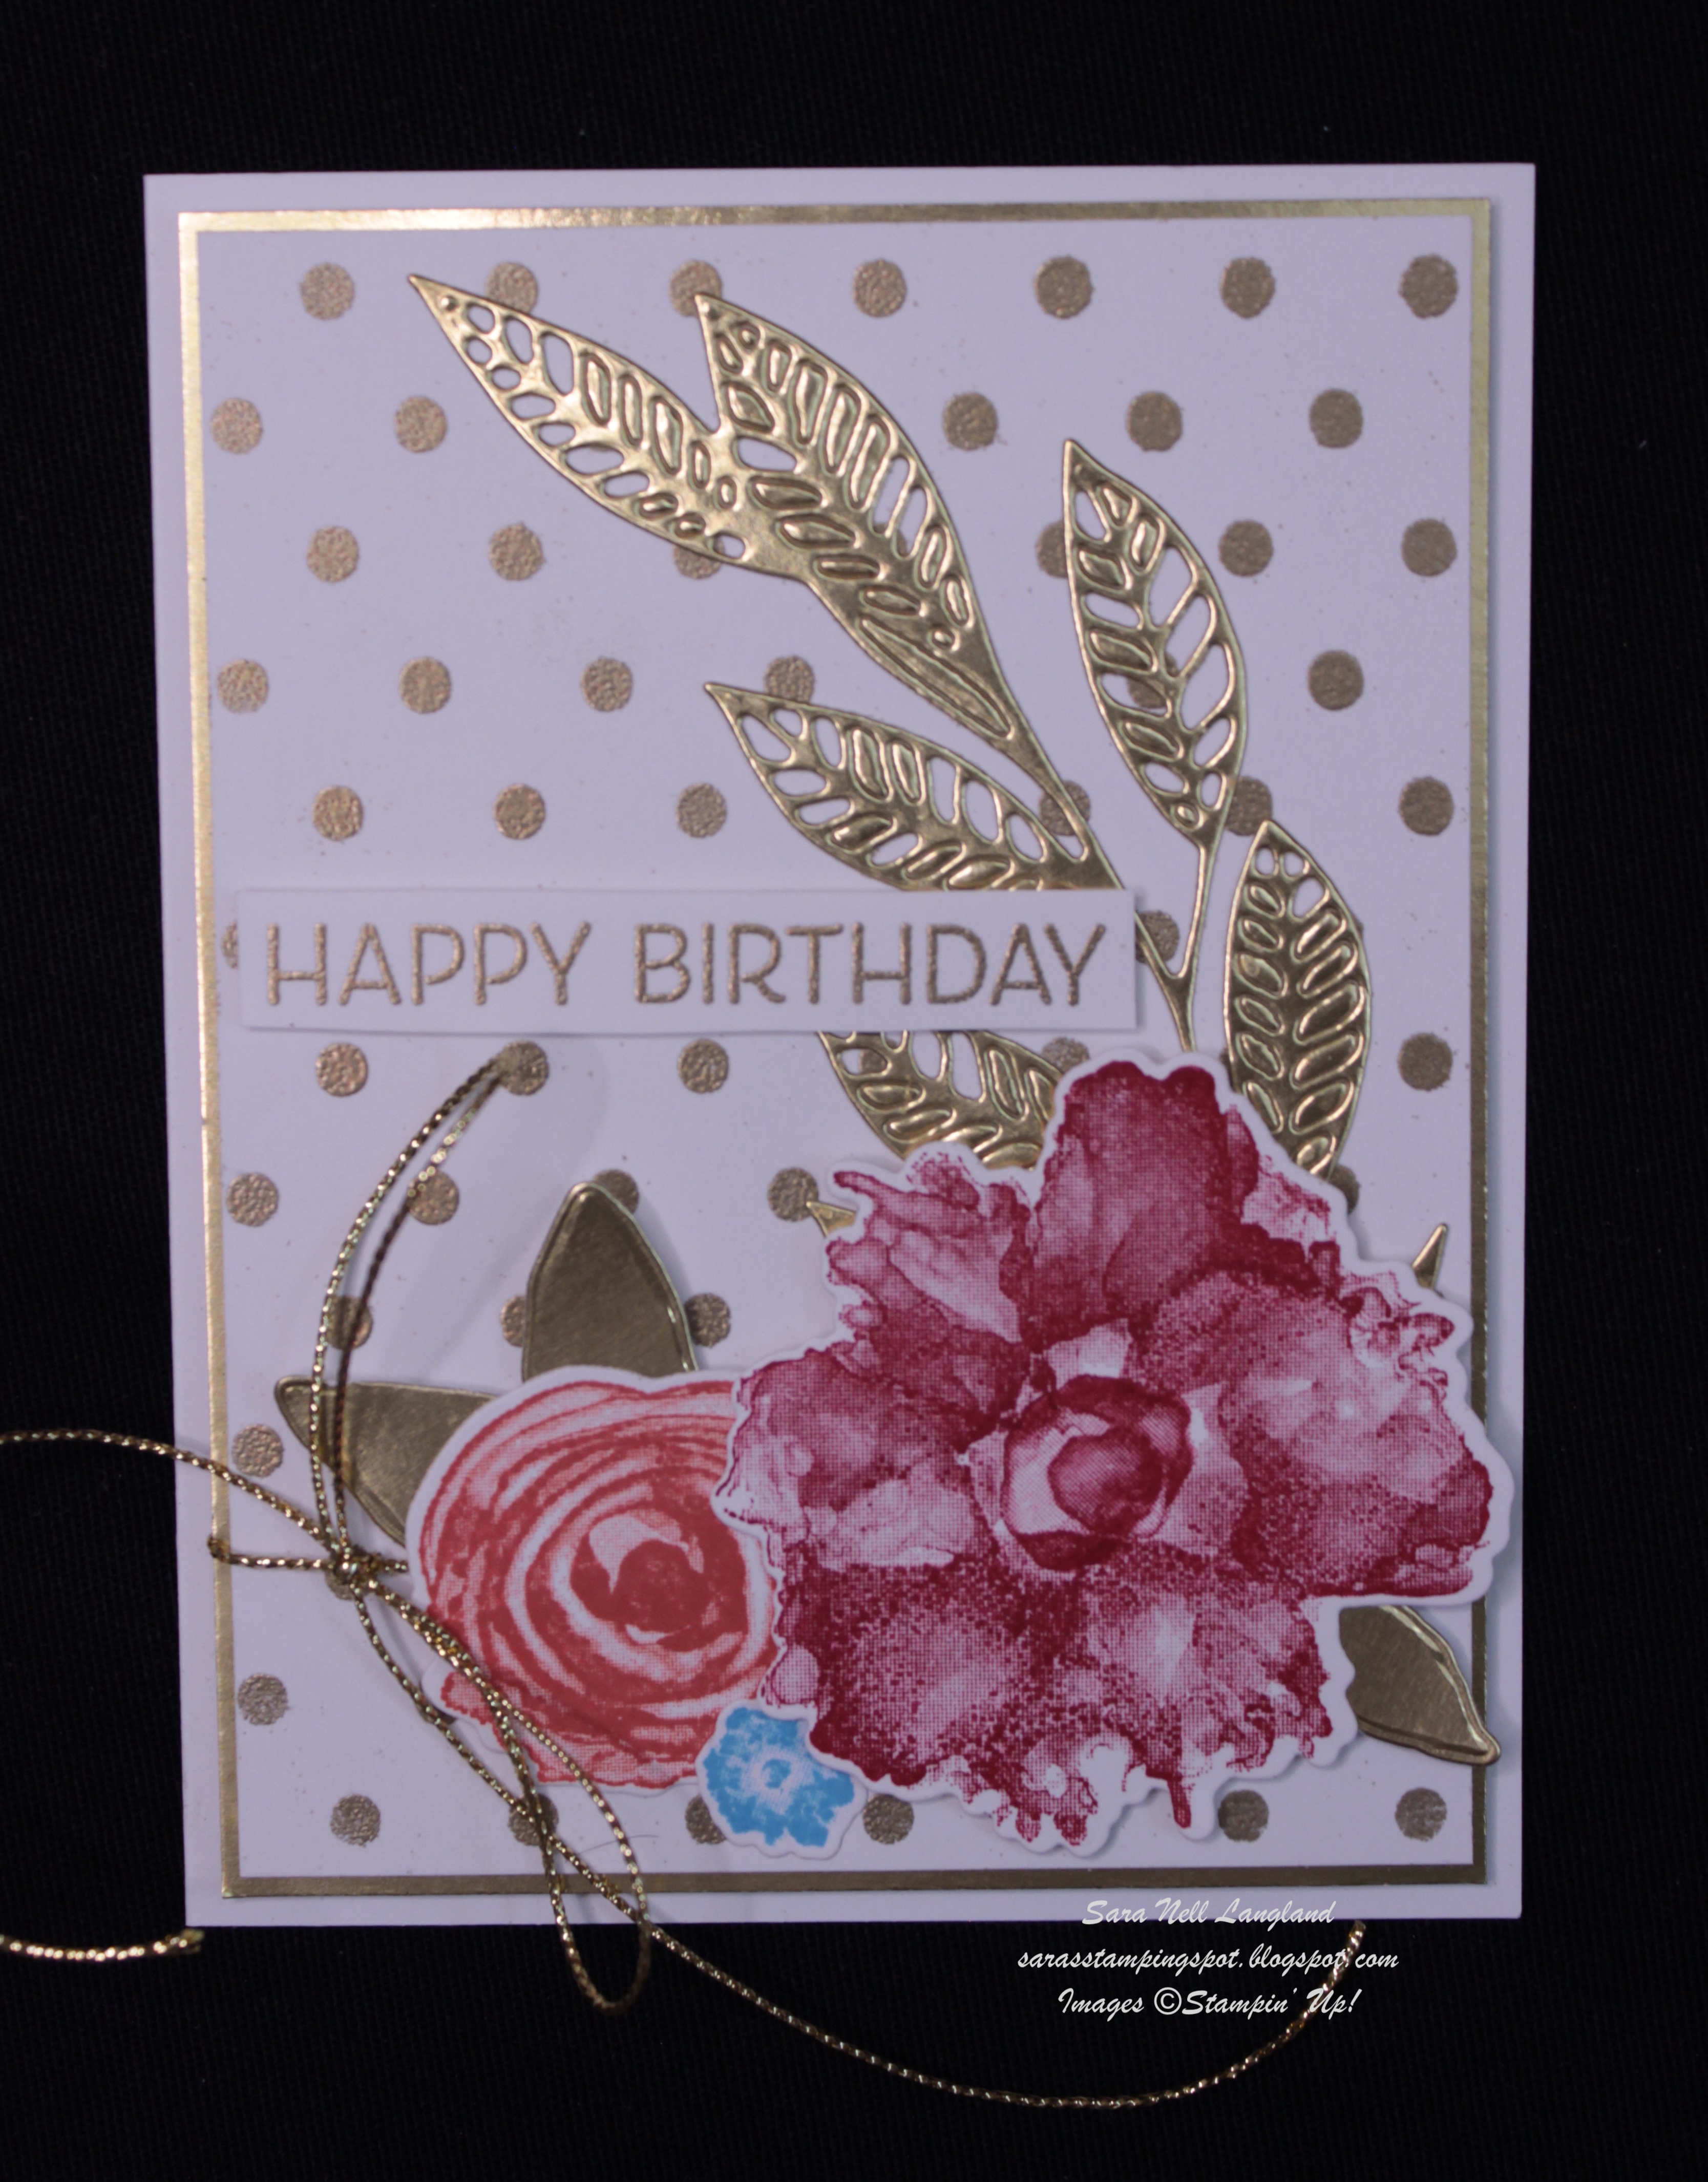
My two projects are Cased from the lower right-hand card on page 40 of the new Annual Catalog. I loved the diagonal stamping on this card. I was also inspired by the Metallic Magic pages on pages 110-111 in the catalog. So, I added a little metallic bling to both my cards. Instead of stamping the images on both cards as was done on the inspiration card, I stamped and die cut my images and arranged them diagonally on the top Basic White layer.

For this birthday wishes card, I created the background with a piece of gold metallic designer series paper from the Nature's Sweetness Specialty pack (#162616). This was adhered to a Lost Lagoon card base. The die cuts were made with the Stippled Roses Dies (#162666) using Pretty Peacock and Calypso coral card stock and Gold Foil. The greeting is from the Stippled Roses stamp set (#162657). It was stamped in VersaMark ink and heat embossed with Gold Stampin' Emboss Powder. The Lost Lagoon and Basic White layers were die cut using the Deckled Rectangles dies (#159173). Brushed Brass Butterflies (#158136) were added for more metallic magic.

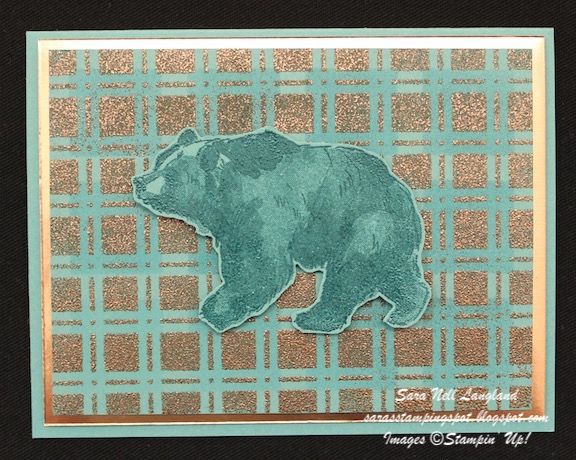
The background on this "You're the Best" card was created with silver foil and the Distressed Tile 3D embossing folder (#162189). The images were stamped and die cut using the Translucent Florals stamp set (#162243) and dies (#162252). I used Boho Blue, Soft Sea Foam and Fresh Freesia for my ink and card stock colors. The greeting was stamped in VersaMark and heat embossed with Silver Stampin' Emboss Powder. Silver Foil die cuts centered with Basic Rhinestone Jewels create additional metallic magic and bling on this card.
Hope you are inspired to create a little metallic magic on your CASEd cards! Now it is time to head over to see Julie Beltramo's CASEd project. She is such a talented stamper, I'm excited to see what she is sharing with us this month. Go to her blog Just Julie B's Stampin' Space to check it out!

Have a great July!
--Sara Nell