Welcome to the August Creation Station Blog Hop!
So glad you have joined us this month as we share our favorite embossing techniques and tips with you. Be sure you click on the "Next" link at the end of each blog post so you can see all of our projects.
Today I have two cards and am sharing three different embossing techniques and tips with you:

The first card was created using the Nature's Prints Bundle (#158801), which includes the Nature's Prints stamp set (#158793) and the Natural Prints dies (#158800). On this card I used one of my favorite heat embossing techniques: combining Stampin' Emboss Powders to create a unique look with a bit more depth than embossing with just one color gives you:

The focal image was stamped in Versamark ink (#102283) and then heat embossed with a combination of White and Clear Stampin' Emboss Powders (Basics Collection, #155554) and Silver Stampin' Emboss Powder (Metallics Collection, #155555). I usually test an embossing powder combo and remix before finalizing my image. I started out with a silver and clear combo I already had on hand but this image needed the addition of the white to make it really stand out on the card.
The embossed piece was die cut and then arranged over three stems die cut from a foil color in the Silver Foil specialty pack (#156457, this specialty foil pack is available until August 31 as a FREE Sale-a-Bration product choice with a minimum $50 purchase using the SAB code #163096). The background is a piece of Sun Prints designer series paper (#158790), layered over a piece of Starry Sky card stock. The card base is a Basic White notecard (#159232).
The greeting was stamped in Starry Sky and then in VersaMark and embossed with Clear Stampin' Emboss Powder. I used the Stamparatus (#146276) to easily align the double stamped image. Our classic Stampin' Inks dry too fast to add embossing powder to the image without the addition of the VersaMark ink on the image. The greeting was die cut using the frame die in the Natural Prints Dies.
Pearl Basic Jewels (#144219) complete the card.
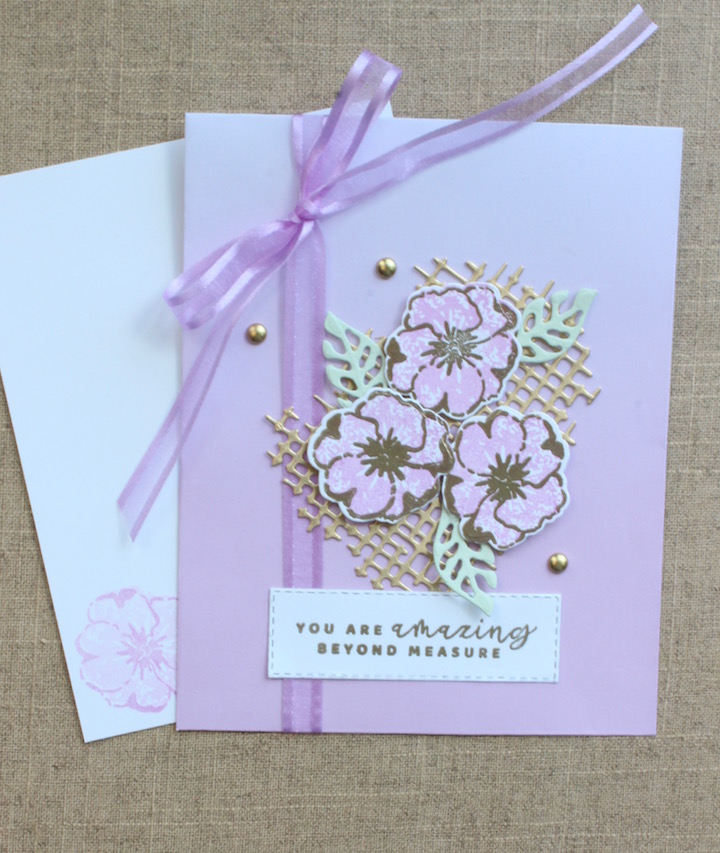
The second card was created using the Botanical Layers Bundle (#158920). This is a unique bundle as it includes the Botanical Layers stamp set and the Lovely Layers Vellum pack (#158919).

This card was inspired by one of the printed vellum pieces. I wanted to recreate the design in color and created it on another pattern in the vellum pack:

You cannot stamp on vellum with our classic inks without embossing the images with clear embossing powder because vellum is non-porous, meaning that it will not absorb the ink so it can dry. Since the ink does not dry, you can add the embossing powder right over the ink without using VersaMark. My process for creating the card was to stamp all the images using one color, cover them with Clear Stampin' Emboss Powder and heat emboss, then stamping with the next color. I used the low setting on the Heat Tool (#129053) so that the vellum would not curl so much. I stamped the larger images first, then added the smaller ones. Ink colors used: Parakeet Party, Garden Green, Tahitian Tide, Fresh Freesia, Orchid Oasis, Pale Papaya and Sweet Sorbet. The stamped and embossed vellum piece was layered over a piece of Basic White card stock, then over Orchid Oasis card stock. The card base is Basic White Thick card stock.
The greeting was stamped in Orchid Oasis and then die cut with a Stylish Shapes banner die (#159183). Starry Sky and Tahitian Tide 2022-24 In Color Matte Decorative Dots (#159186) complete the card.
I hope I've inspired you to try some new ideas with your heat embossing. Now let's head over the Vicki Boucher's blog to see her embossed creations. She is a very talented member of Stampin' Up!'s Artisan Team this year, so I am so excited to see what she is sharing with us.