

Welcome to the Creation Station Blog Hop for April. Our theme this month is Heat Embossing. We’ll be sharing heat embossing techniques and tips. You’ll see all of our projects and techniques by clicking on the “Next” Button at the end of each designer’s post. We hope you’ll be inspired to incorporate some of our ideas in your next project.

My projects are very different; however they are connected with my heat embossing techniques theme: heat embossed backgrounds. I used VersaMark ink (#102283), Gold Stampin’ Emboss Powder (Metallics Collection, #155555) and the Heat Tool (#129053) to create each of the backgrounds as well as other heat embossed elements on each card. All of the cards have a Basic White Thick card base.
My first project's background was created simply by using the VersaMark ink pad direct to the card stock and heat embossing with gold embossing powder. I used the ink pad flat and also drew the edge of the ink pad across the card stock to create this look. This embossed piece was layered over a piece of Gold Foil (#132622).

The focal point is an image from the Lovely & Sweet stamp set (#162617) stamped in VersaMark and embossed with gold. It was colored with Bubble Bath, Moody Mauve, Granny Apple Green, Gray Granite and Soft Sea Foam Stampin' Blends (the Gray Granite and Soft Sea Foam were used together on the almond pods). The greeting is from the Notes of Nature stamp set (#162630). It was heat embossed in gold.

Other products used on this card were: Festive Pearls (#159963), Lovely & Sweet dies (#162626), Notes of Nature dies (#163203) and Nested Essentials dies (#161597).
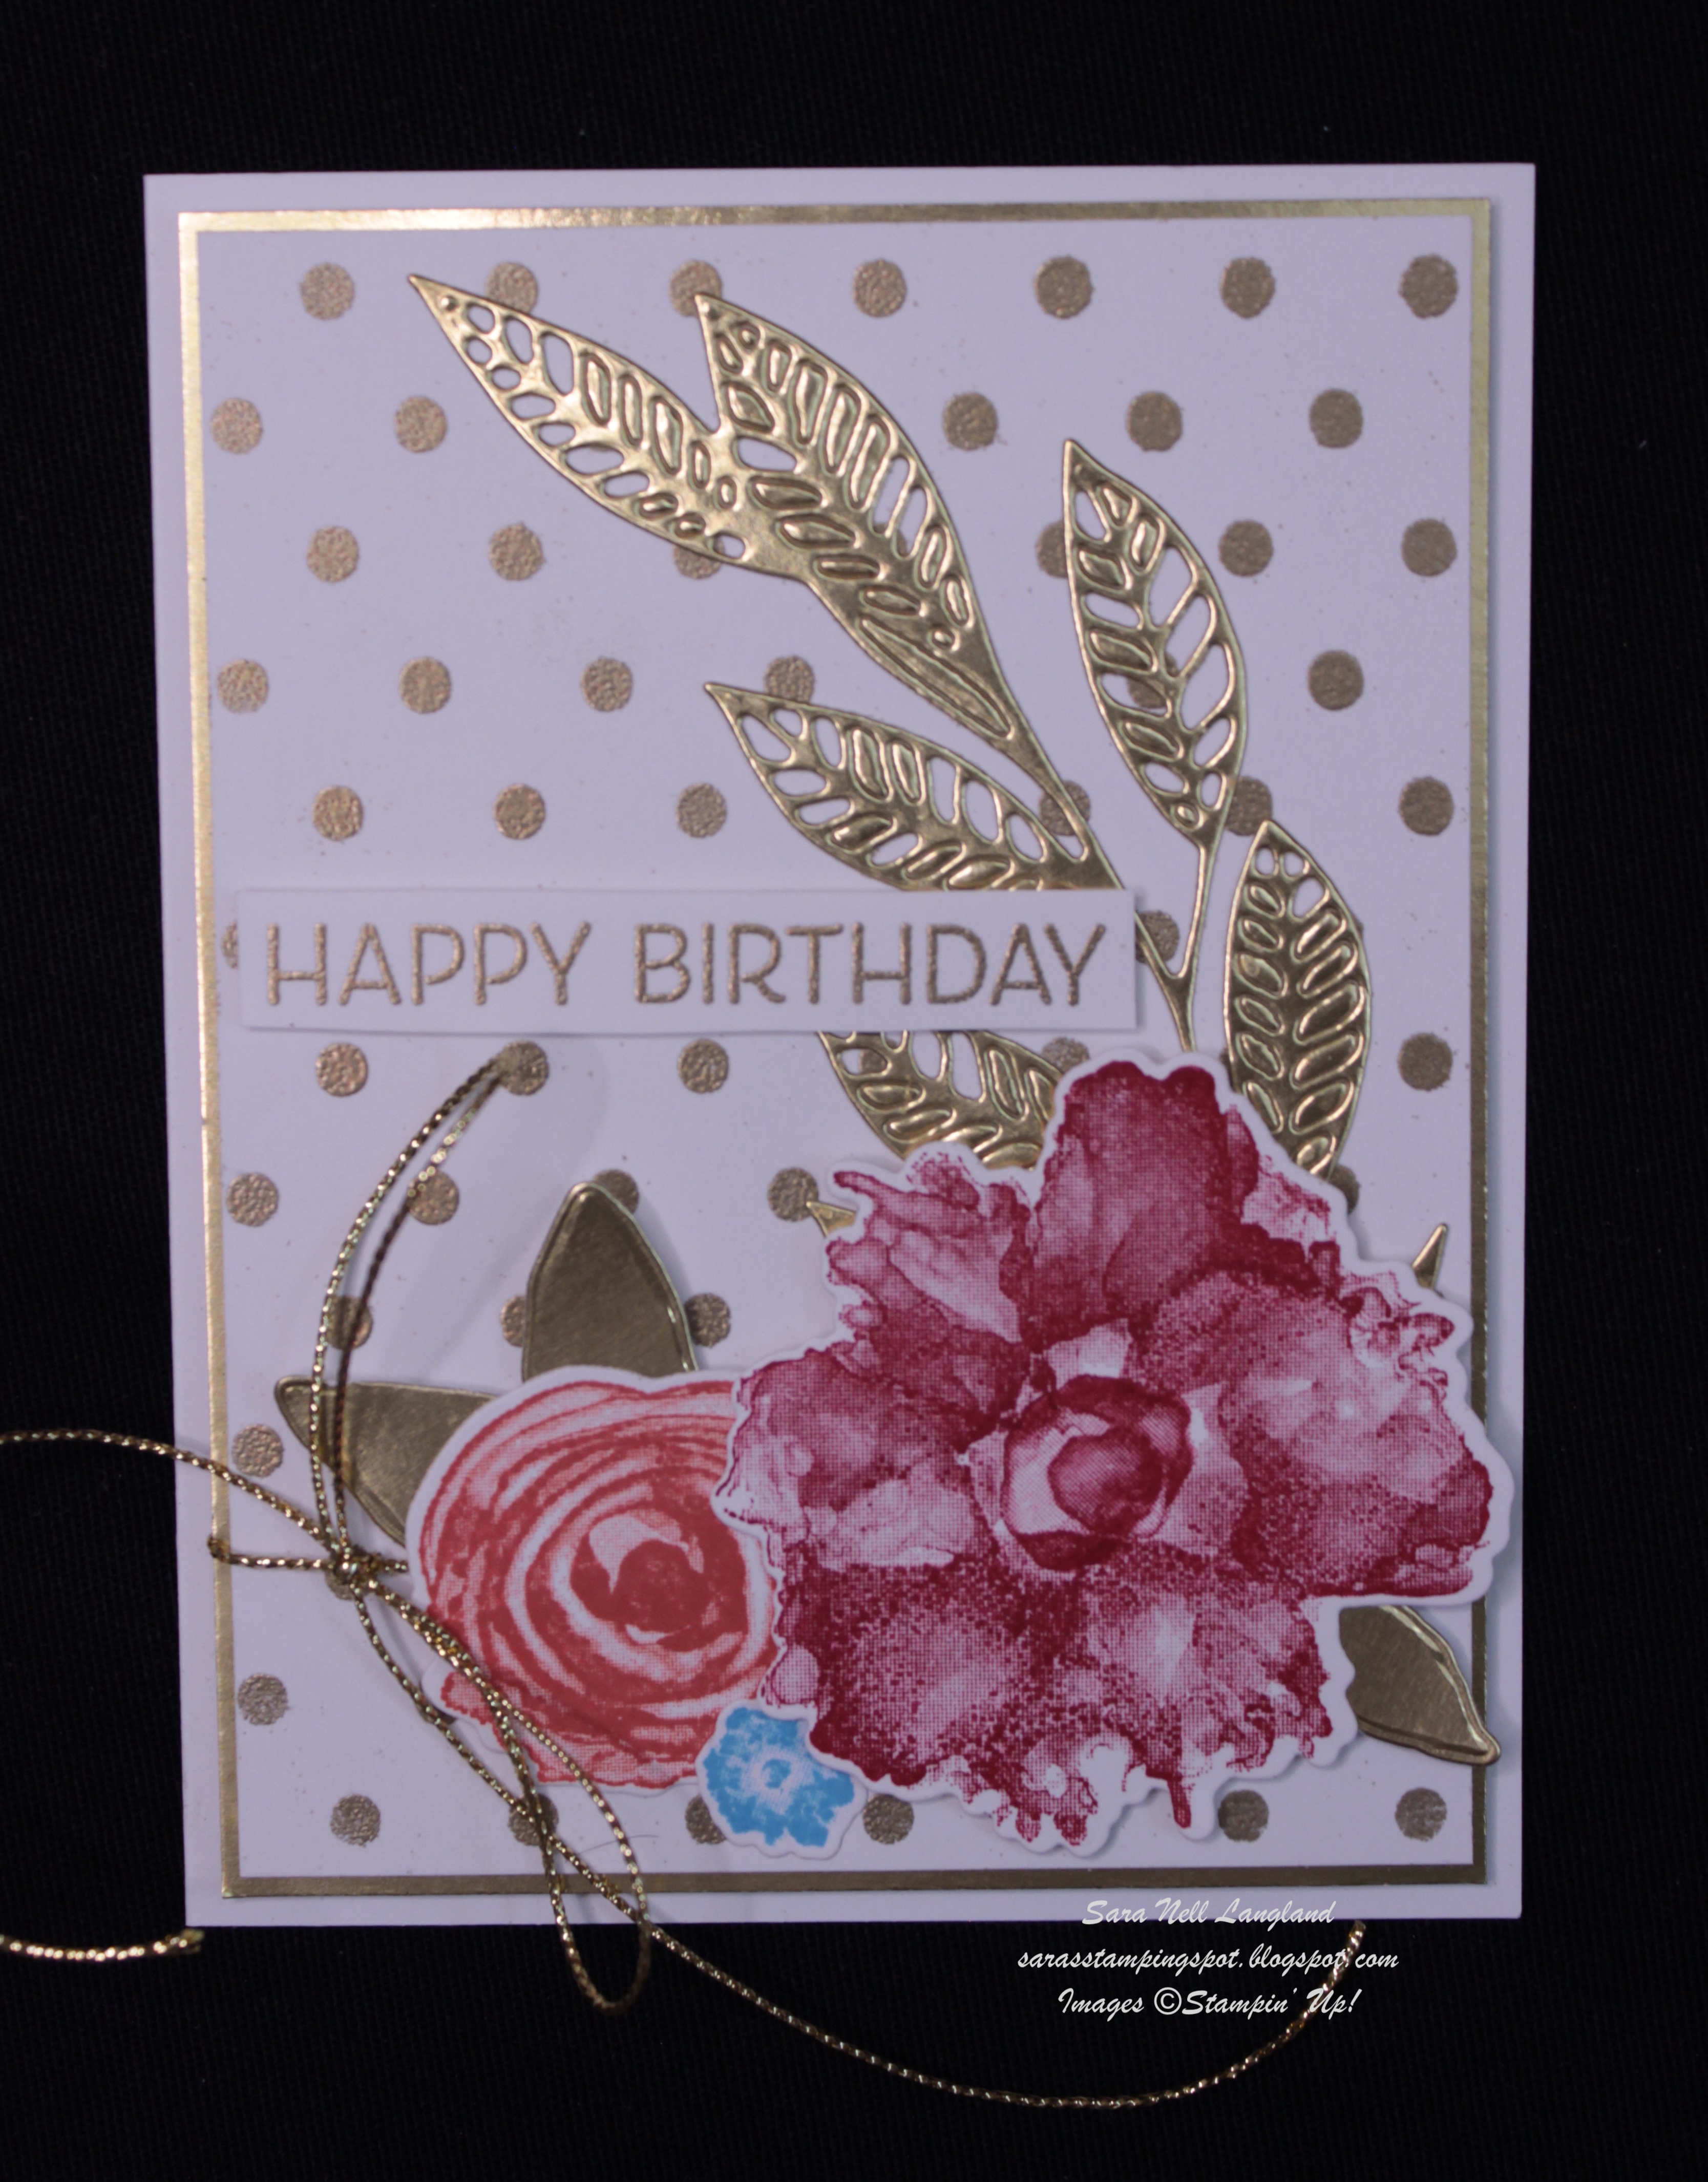
The Dots & Spots die (#159164) was used to create a mask of dots to create the heat embossed dotted background on this second card. I used a blending brush to get the VersaMark ink evenly in all the dot spaces. The embossed piece was adhered to a Gold Foil layer.

The focal point on this card was created using three different floral images from the Artistically Inked stamp set (#154542). They were stamped in Melon Mambo, Calypso Coral and Azure Afternoon inks then die cut using the Artistic Dies (#155371). The gold leaf images were die cut from Gold Foil using the same die set. The Happy Birthday greeting is from the Artistically Inked stamp set. It was heat embossed in gold and fussy cut. Also used on this card was Gold Simply Elegant Trim (#155766).
The final card in this set was created using the Painted Posies 3D Embossing Folder (#159175). The inside front of the embossing folder (the side with the Stampin' Up! logo) was covered evenly in Versa Mark ink using a Stampin' Brayer (#162936). A piece of Watercolor paper was placed inside the folder and then run through the Stampin' Cut & Emboss Machine (#149653). Once dry embossed the piece was covered in gold embossing powder then heat embossed to create the gold background.

The posies were colored with Berry Burst, Highland Heather and Parakeet Party inks using a Water Painter (#151298). The piece was then layered over a piece of Berry Burst card stock. The greeting from Artistically Inked stamp set was heat embossed in gold and die cut using a Deckled Rectangle die (#159173). Gold Simply elegant Trim completes the card.

Now, head on over to Barb Pfeffer's blog, Just B Stamping, to see her beautiful heat embossed creations.


No comments:
Post a Comment